|
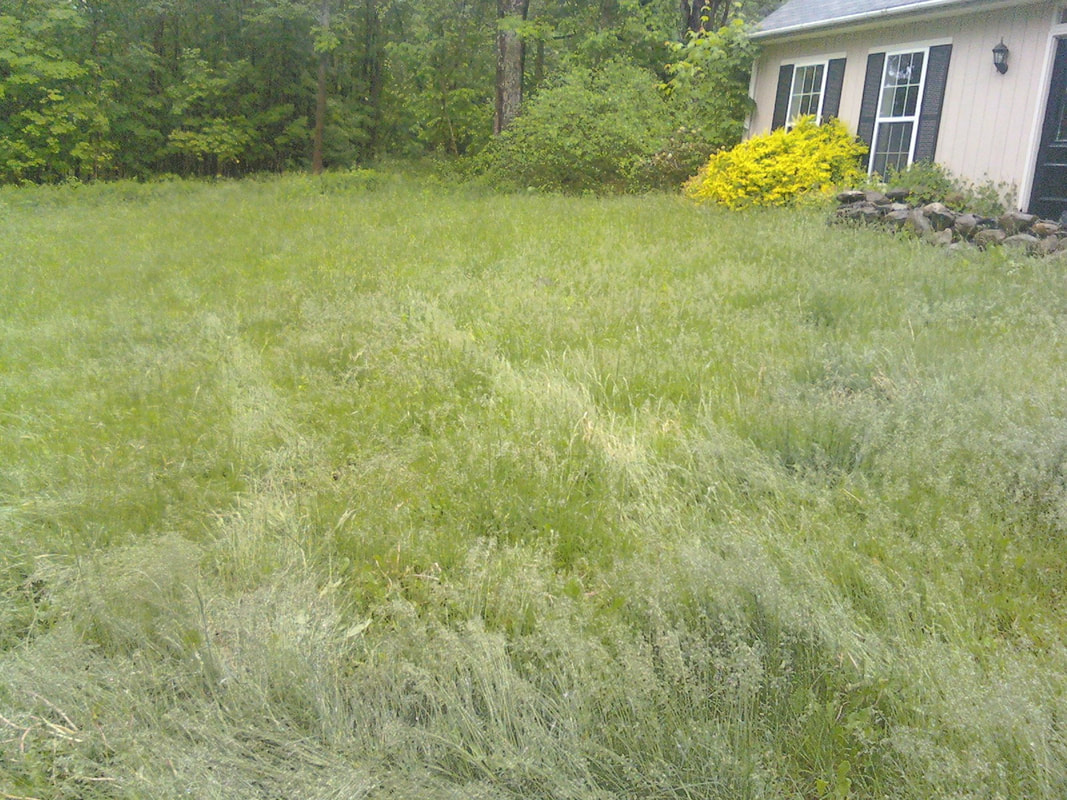
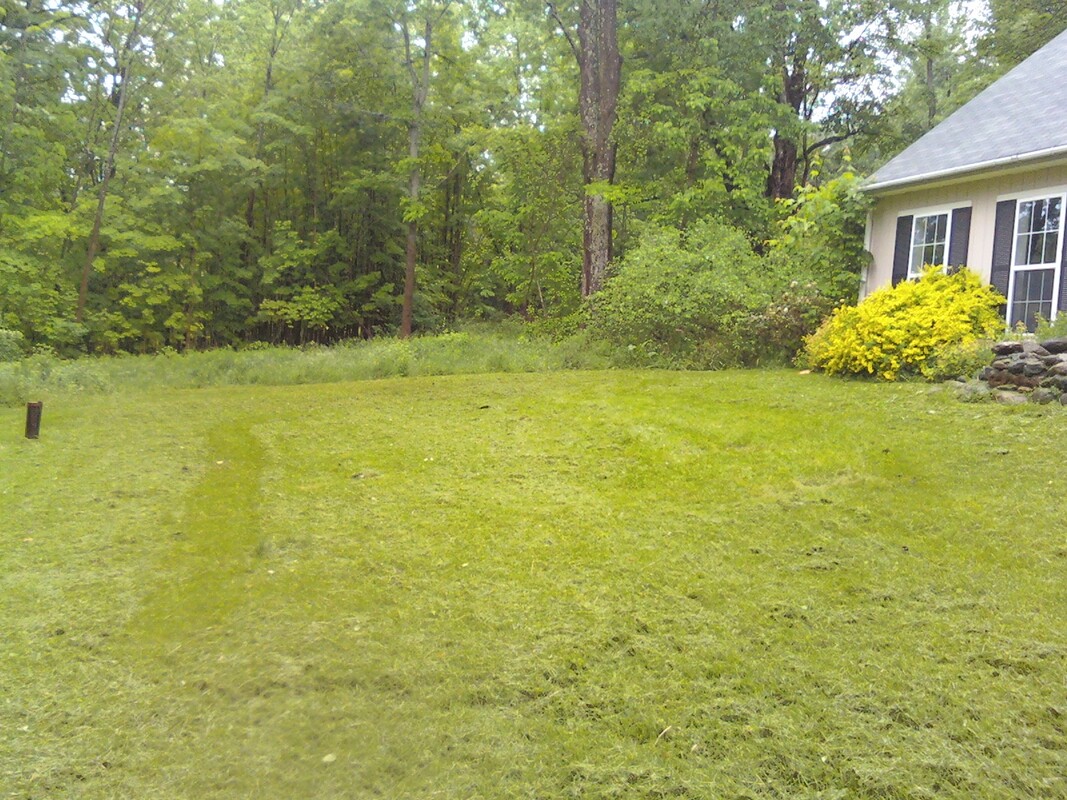
It’s spring and the weather is finally cooperating! It is great to be able to enjoy our homes and outdoor spaces. A lush, thick lawn is something we all aspire to and with all the time we have to be hunkered in, we are actually out there enjoying our grass. We figured we would blog about grass and how to achieve that gorgeous lawn. “Mow high, mow often” is a common phrase in the landscape industry. It is often at odds with a client’s budget and we get that. Some opt for bi-weekly mowing to help with the margins or budgets they have set for themselves. We also serve clientele that have us mow weekly and contract with fertilizer companies as well as have irrigation to help their lawns thrive. We will discuss the two alternatives and give a third alternative that we offer. Mow high, mow often (7-day interval) is scientifically better for your lawn. It doesn’t take much googling to come across a blog or two explaining the chlorophyll of the blade and photosynthesis that occurs. We usually show customers how dark their grass is at the tips and how yellow and bare it is near the roots. Just pluck a grass blade from the base and fold it in half, then compare the ends. It’s greener and nicer at the tips. Leaving it longer (3.5”-4”) encourages that lush look. Also, it allows the roots to grow deeper and the dirt to be shaded keeps it moist longer. Cutting low (2.5”-3”) and keeping a longer interval (14 days – we don’t take clients at intervals longer than 14) can be harmful to the grass. If a customer can’t afford to do weekly or their lawn might be shady and slow growing, we would do this bi-weekly. It is not the best for the lawn, but we understand the client’s constraints and of course they can choose what they prefer. During high growth periods, some customers complain that the grass gets too long during this interval and actually ask that the lawn be cut even lower. This produces excessive clippings and their lawn looks like a hayfield ready to be baled. In this case, the short-term goal of not having the lawn look like a hayfield can be achieved by adding in a weekly cut for the high growth month. Some customers switch to a 10-day interval instead. Cutting at a 10-day interval is actually a decent compromise to the two extremes. A 7-day interval is cut 26 times a year, a 14-day interval is cut 13-14 times and a 10-day interval is cut 18 times roughly. Having that 10-day interval allows for a healthier lawn and helps the budget. A lot of contractors do not offer 10-day interval due to the confusion of scheduling. We use a pretty sophisticated cloud-based software to help us schedule. It allows us to offer the various schedules with ease. Our goal is to help our customers find the right balance to caring for their lawn and budget. Tall grass after a longer interval between mowings and a high growth period. After mowing - the grass is cut but it leaves the yard looking like a hayfield. Not ideal or healthy for the lawn.
0 Comments
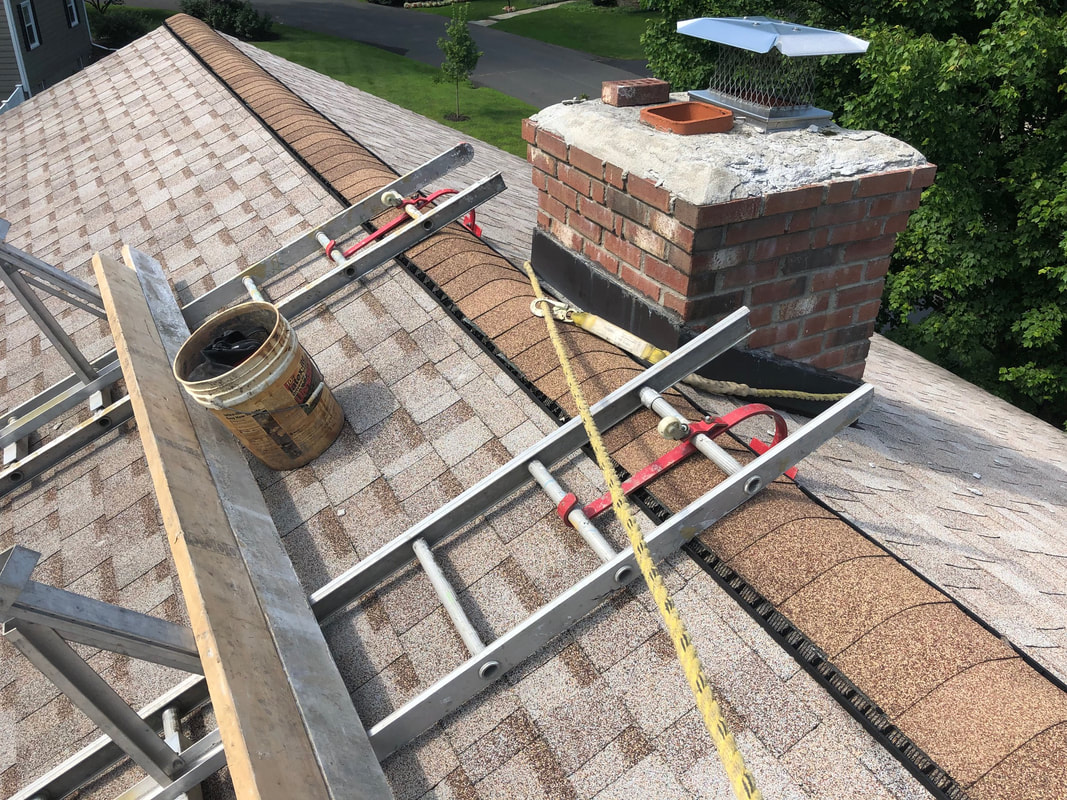
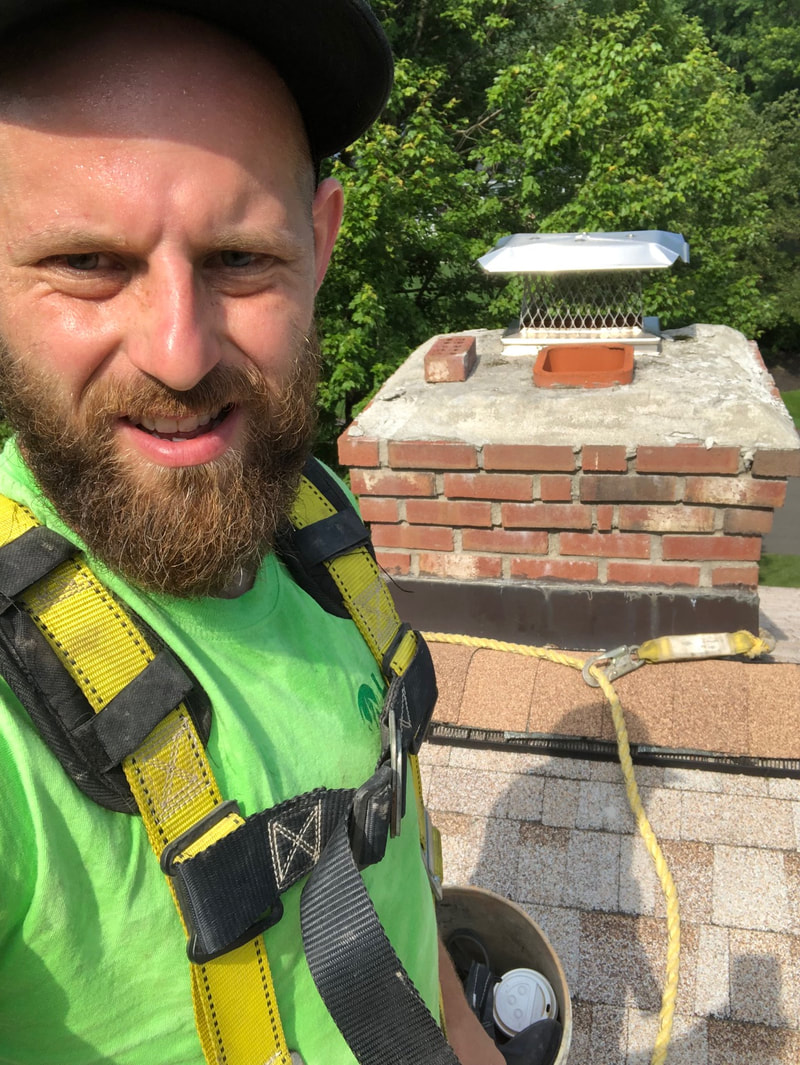
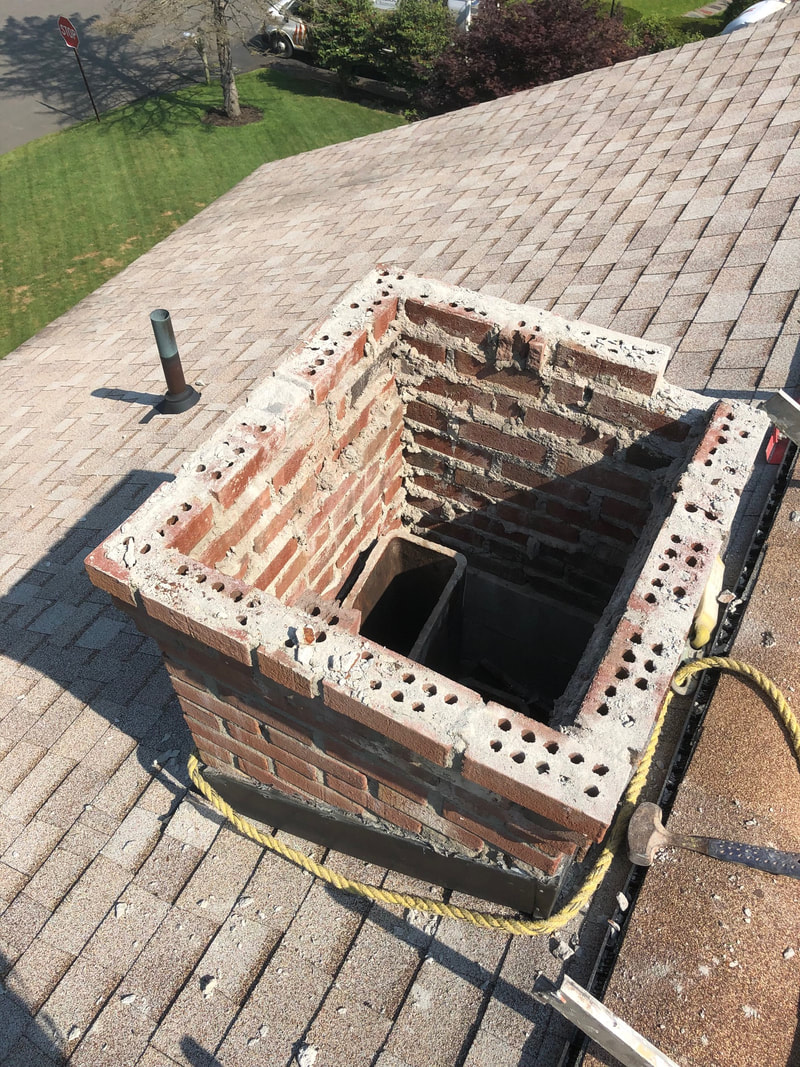
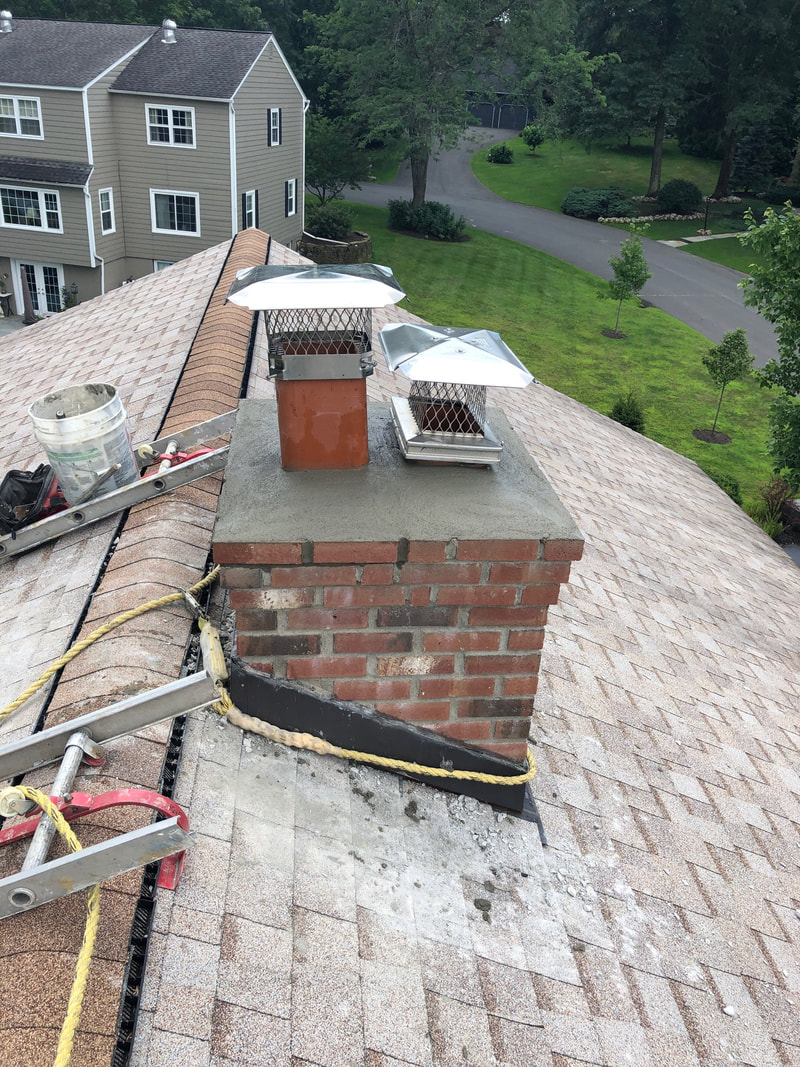
One of our clients was having an issue with their chimney over the winter during heavy snow. Every time snow would melt on the roof, they would get a leak in the house. He formulated a plan to get on the roof, check out the top of the chimney and investigate, when his wife suggested he call us instead.
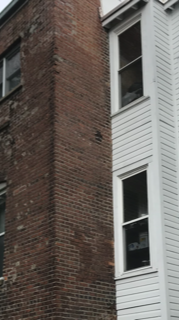
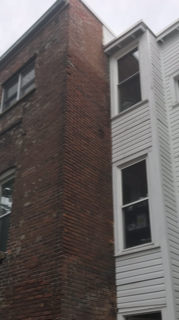
When we got to this estimate, we set up our ladder and safety equipment and climbed up to find the issue. Upon inspection, we found the chimney lacked a flue from the crown to about 4 feet in - meaning that the gasses couldn't directly vent out correctly. It also meant that snow would fall into the chimney and as it melted, would cause a leak. So during those heavy snowfalls, the snow was going around the flue and melting enough to cause damage in the house. The proper fix was to tear the crown off, install a continuous flue and reinstall a new crown. We sealed up some of the holes in the flashing using silicone and we are confident the leaking is no more. Our customer’s wife was spot on. Have a professional check it out so you don’t risk getting hurt. Being a masonry business in Troy NY, we don’t get bored easily. With brick structures all over the city, most built in the early nineteenth century, we find ourselves getting calls for re-pointing often. In historic masonry structures, the mortar is weaker and therefore the first element to give. This is intentional so that the bricks don’t break, the mortar does. Between 1873 and the 1930s, brick and mortar actually became stronger. Interestingly for Troy, we had a fire in 1862 that destroyed hundreds of buildings in the city. Much of the cities brick structures that are still around were built between 1880-1920. This leaves us masons in a tough spot to find the right historical mixture of lime, Portland and sand to respect the age and strength of the brick and mortar of that time. We have been using a mix prescribed by the Troy Architectural Program: 1 part Portland cement, 3 parts hydrated lime and 6 parts sand. Here are some before and after pictures of an 1890 brick structure on 9th Street in Troy. This historical mix is intentionally weaker than regular type n- and type s-mortars you find at the big box stores. It is intentionally weaker because the original mortar is not as strong. The National Parks Service of the U.S. Government tells the history of mortar and Portland cement as:
“Historical Background Mortar consisting primarily of lime and sand has been used as an integral part of masonry structures for thousands of years. Up until about the mid-19th century, lime or quicklime (sometimes called lump lime) was delivered to construction sites, where it had to be slaked, or combined with water. Mixing with water caused it to boil and resulted in a wet lime putty that was left to mature in a pit or wooden box for several weeks, up to a year. Traditional mortar was made from lime putty, or slaked lime, combined with local sand, generally in a ratio of 1 part lime putty to 3 parts sand by volume. Often other ingredients, such as crushed marine shells (another source of lime), brick dust, clay, natural cements, pigments, and even animal hair were also added to mortar, but the basic formulation for lime putty and sand mortar remained unchanged for centuries until the advent of portland cement or its forerunner, Roman cement, a natural, hydraulic cement. Portland cement was patented in Great Britain in 1824. It was named after the stone from Portland in Dorset which it resembled when hard. This is a fast-curing, hydraulic cement which hardens under water. Portland cement was first manufactured in the United States in 1872, although it was imported before this date. But it was not in common use throughout the country until the early 20th century. Up until the turn of the century portland cement was considered primarily an additive, or "minor ingredient" to help accelerate mortar set time. By the 1930s, however, most masons used a mix of equal parts portland cement and lime putty. Thus, the mortar found in masonry structures built between 1873 and 1930 can range from pure lime and sand mixes to a wide variety of lime, portland cement, and sand combinations. In the 1930s more new mortar products intended to hasten and simplify masons' work were introduced in the U.S. These included masonry cement, a premixed, bagged mortar which is a combination of portland cement and ground limestone, and hydrated lime, machine-slaked lime that eliminated the necessity of slaking quicklime into putty at the site.” www.nps.gov/tps/how-to-preserve/briefs/2-repoint-mortar-joints.htm With sustainability being so prevalent, we thought we would take some time to explain how we handle our debris. We get all types of debris from straight trash to grass clippings and we are always looking for the best ways to recycle and reuse them. Grass clippings: Some of our clients expect to have their lawns bagged. We are against this practice since the clippings provide a natural fertilizer and we prefer to discharge the clippings finely into the lawn. When we do bag, there are two types of lawns they come from. Fertilized or non-fertilized lawns. If we suspect the clippings are fertilized, we will pay to bring them to Gallivan’s in Watervliet where they combine the green waste with other materials to make mulch. If we know the property is not fertilized, then we bring the clippings to local urban farms for composting. Leaves: All of our leaf debris is brought to the local urban farms where they use it for composting and amending their soils. They also use it as a mulch around their plants to prevent weeds. We bring truckloads upon truckloads and they keep wanting more! They told us that smaller gardeners and farmers will come pick up the leaves for the same purpose. Concrete/Brick/Block/Stone: Concrete is second most consumed product after water. It is used everywhere. When we put in a new slab or fix a crumbling chimney, we inevitably have rejected materials that need disposing. Some contractors will just bring the clean fill to an embankment and toss it over and use it to fill a hole of some sort. While there are times that we do the same, we also prefer to bring these materials to Gallivan’s concrete/asphalt recycling center in Glenmont. They take the debris and crush it, making aggregate that is used for road base, additive to new concrete, or many other situations where a stable additive or base is needed. This recycling reduces carbon emissions that are associated with mining new aggregates and the materials are closer to the final destination, reducing the trucking associated with bringing them to the cities they will finally go to. Concrete accounts for 15% of landfills capacity so we are proud to recycle this material. Apshalt: Sometimes we remove driveways or asphalt walkways when we install pavers or concrete. We take this same material to Gallivan’s concrete/asphalt recycling center in Glenmont. Apshalt can be ground down and reheated to create new asphalt. There are huge economic savings in this as well benefits to the environment. We might have already gotten some snow this season, but on those warmer days, we’re still squeezing in some hardscaping and masonry projects.
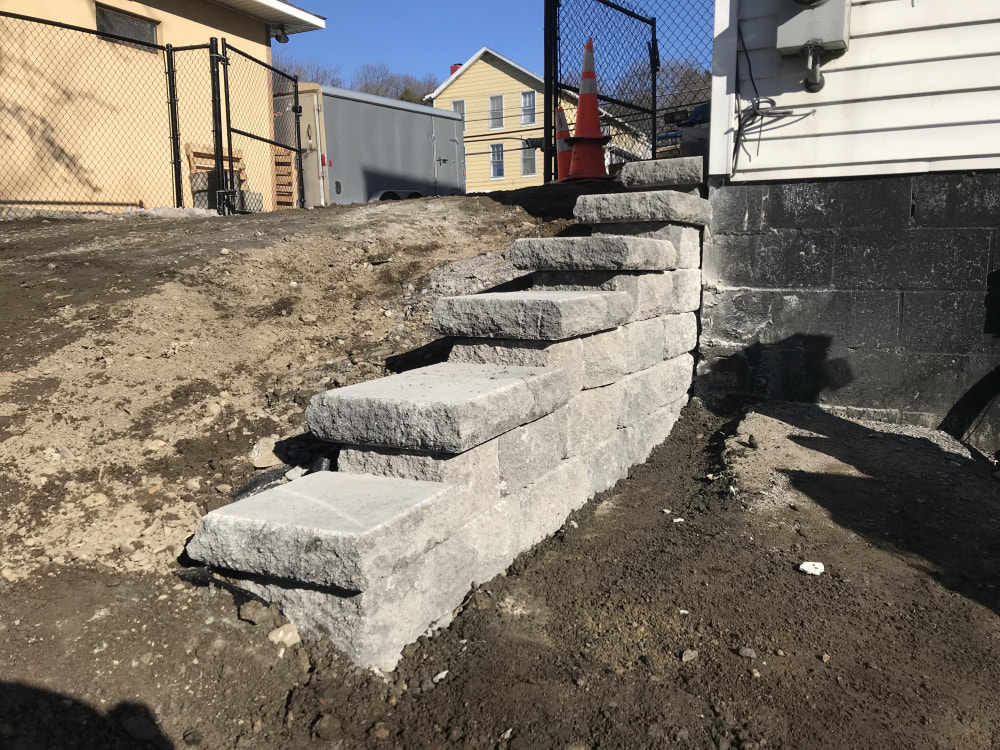
This project in particular was a wood retaining wall and a great upgrade before winter comes. She had a leaning retaining wall along her driveway made out of 6x6 timbers as well as an incorrect installation by a different hardscape contractor in the back. She needed us to correct both issues. The first issue was the retaining wall along the driveway. We were able to tear it down in the matter of 10 minutes since it was rotten and ready to fall. We replaced it with a paver retaining wall and added a set of steps along the garage side to allow access around the house. We added drainage and matched the new wall system to the color and style to the blocks in the outdoor living space in the back. The pavers and walkway were a beautiful upgrade to the property! In the back yard, the customer had hired a different contractor to install the outdoor living space. We found ourselves gluing down different blocks that hadn’t been previously done as well as ripping up large sections of wall that were not built to the manufacturer’s specifications. In this case the step to the patio was built at grade. We had to pull up about 15 ft of the wall that makes the step, to bury new block to create a footing that can counteract the effects of the frost heaving. In the end we reassembled the project and eliminated the tripping hazard. Her back patio is ready to be enjoyed come springtime! We wanted to take the opportunity to explain how we price out our jobs, in particular the jobs we charge based on man hours spent on-site. These jobs are generally clean up jobs such as raking, weeding or clearing. Many jobs are priced out ahead of time. However, some jobs are nearly impossible for us to price out correctly (without over or under pricing). For instance, a raking job is impossible for us to definitively know if a dense area of leaves has multiple layers of wet leaves underneath or if it’s just the surface. We would hate to price the job out as if there are multiple layers of wet leaves, because if it’s not then we overcharged the customer. On the flip side, if we assume the leaves are just on the surface, then we might end up losing money on the job. And as much as we like doing volunteer work, we can’t run our business that way. Another example would be a spring or fall cleanup. We have found that our customers vary greatly on what they want to pay for. Paying by man hour is ideal because if the customer prefers us to just get the main areas, we can do that and then charge for only that work. If the customer wants us to remove every leaf from the property, then we can do that and charge accordingly as well. In these circumstances, we are able to price out very accurately because we charge for exactly what we do. We believe that this is the fairest we can price it, while still keeping our doors open and employing our crews. For these jobs, we typically charge $45 per man per hour. Some jobs are billed at higher rates, but $45 is our minimum. This means if we have 2 crewmembers on-site for 3 hours, that would be 6 man hours = $270 plus sales tax. Some customers looking for fine detailed work might have 2 crewmembers on site for 8 hours, which would come to $720. These are just examples of what might happen – it all depends on what the customer is looking for and what their budget is. We have run into an occasional miscommunication where after the work has been done, a customer claims we negotiated a set price ahead of time for this work. We do not negotiate our prices. This is because we have priced this as fairly as possible and unfortunately don’t have any room to negotiate. We’d love to do work all day long for the price the customer wants, but it wouldn’t keep our doors open, lights on and pay our employees a fair wage. We keep firm to our price of $45 per man per hour for this reason. A cleanup job we did this spring that was priced by the hour.
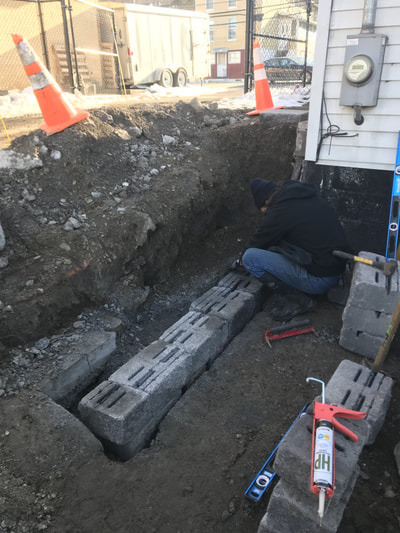
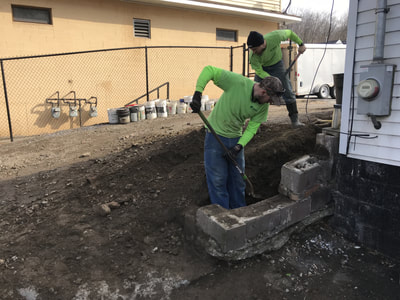
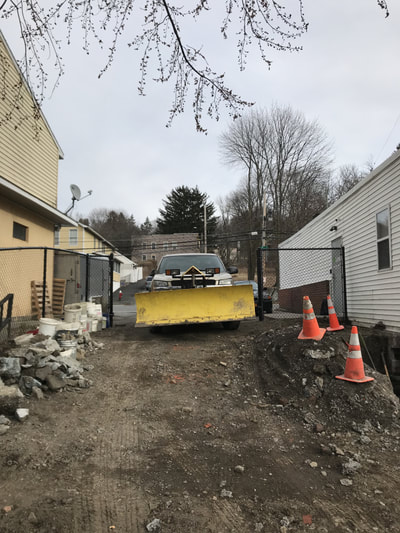
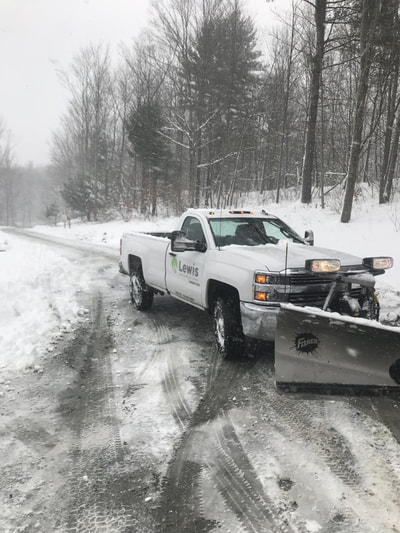
Just two months ago, we could barely keep up with the speed at which the grass was growing. Now, July and August are known for just the opposite: dormant grass. And it’s everywhere. Some might refer to this as dead grass. This is not the case. During the dry, hot summer months, the grass goes into dormancy to protect itself and survive. Dormant lawns basically mean that the grass is hibernating and turns brown, dry and crunchy until conditions are better. The grass is desperate for some water, but will likely survive for a while in these conditions before actually dying. As landscapers, this means our crews need to make judgment calls when they arrive at a property with dormant grass. We know our customers don’t want to see us at their property mowing over their dry, crunchy lawn, and having to pay for it on top of that. Ultimately, we want to do our job and fulfill the terms of our contracts, but at the same time, be pragmatic about the lawns and what we know our customers want. So what do we do when we show up and the grass is just crunchy under our feet? Our crews have the authority to report lawns that are “brown to the ground,” “crunchy” or dormant. There is no benefit to mowing a dormant lawn. It isn’t growing and we would just be going through the motions. Unfortunately, we still pay our crews to show up and report these conditions, but we expect integrity from our employees and we deliver that to our clients. Mowing just to bill the client is not something we do. If we don’t think the lawn needs to be done, we prefer to skip it. If a portion of a lawn is dormant, we might bill for a half charge. As a business, we don’t like to perform jobs and charge our customers for work they don’t need. We love what we do and take pride in making our customers' properties look beautiful all season. Most customers are happy to save the $50 on their lawn this week and have a Friday night pizza delivered instead. We aren’t here to maximize sales at the expense of our customers, we are here to provide a needed service. On the upside, we’re in the midst of some heavy rains and thunderstorms right now! Lawns everywhere are happy today! Warm weather is finally here and our season has opened up. It feels great to be outside again! We recently performed a small replacement job for a customer. This particular customer’s sidewalk was not straight and the steps were badly pitting. We were asked to skim coat the steps. Skim coating doesn’t always last very long - it is a quick fix that polishes up old concrete for a short period of time. However, since concrete doesn’t bond very well to other concrete, the skim coat can eventually separate from the concrete. The customer understood that the skim coat was a temporary fix and they were okay with it. We offered to skim coat the step and we installed a new walkway that was straight and even. When we removed the old concrete, we found it was over eight inches thick! Four inches is the minimum for a sidewalk and six inches or greater is usually standard for slabs like a driveway or hot tub. Eight inches of concrete is just plain overkill. It’s difficult to project the amount of concrete you are removing since we can’t see beneath the surface. There have been times we have found up to 12 inches of concrete underneath the surface! One thing we try our best to avoid is adding to the original estimate - 99% of our contract prices are firm and do not change. It takes something much larger for us to change our price on a job (typically something that is out of scope). So in this case, we performed the job according to the contract and dealt with the extra costs associated. All in all, we sealed the newly poured concrete sidewalk and put the skim coat the existing step. The customer was able to enjoy the upgrade to their entrance with the coming of this beautiful weather! It’s been a while since our last blog. We have been incredibly busy at Lewis Lawn Care and Masonry. We moved into our new office space in October this year at 557 4th Street in Troy. We have been putting a lot of effort in transforming it from an old police station to our office space and yard. Patty has joined our team as the Administrative Assistant. She has been pumping out the mowing contracts and we are ready and geared up for the mowing season. The last thing on our to-do list at the office is getting our new yard set up for the season. That is where the focus of this blog comes in. Our plan is to repave our yard and fix the entrance – currently, the yard is a mix of dirt (oftentimes mud) and broken concrete. This also includes fixing the retaining wall, ripping up the blacktop and repave. Our contractor is set up to excavate the blacktop that currently exists (it is not pitched correctly and would create a surface where water would be trapped for the layers above). We use KC Construction out of Green Island for this type of work and other heavy machinery solutions. We have been working together for a decade or so. The next problem to solve was getting asphalt bids and build the retaining wall. We got two bids so far and are waiting on the third. Both bids are from companies we know through the volunteering world – Cooper Paving and Smith’s Paving & Sealcoating. To get started, the first step was to excavate the retaining wall to get the grade correct on our hill entrance. Last Thursday, we demoed the existing wall and tore it down. Since Polly was forecasted to be all rain and 37 degrees overnight, we weren’t too concerned with our entrance being blocked by some dirt overnight. We could still sneak the truck by, but it was tighter with the dirt pile in the way. We were surprised to see the snow accumulate overnight. We had all our trucks moved to another location (plows on and ready). We kept checking overnight to see how much snow was coming. It became obvious that it was not going to be a rain event and was in fact, a snow storm. The back yard at the office became an afterthought to fighting winter storm Polly. In the end, Polly dumped about a foot of snow on us and man, was it heavy. Our backs are still hurting from it! Also since the temperatures were so high the days before, the ground was incredibly soft. As a result of this, we have a couple accounts where we have to return to fix their grass and grade out some tire tracks and plow marks. As this is being typed, we are preparing for winter storm Quinn. Another 9-14 inches they are saying. We are at 50.8 inches in Albany this year. Our typical seasonal average is 60.2 inches. Quinn should get us to our average.
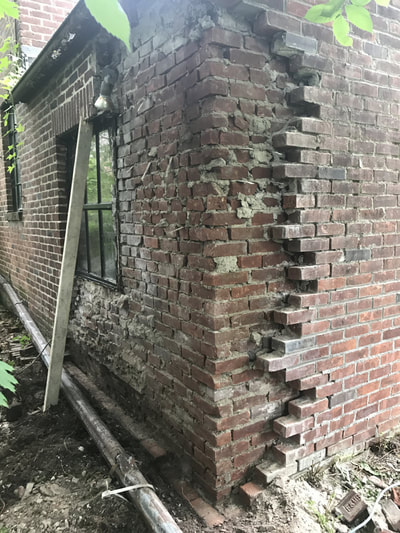
On Tuesday, we were able to finish our wall and regrade for now. We still have to wait for Polly’s snow to melt in our yard before KC Construction can come in and rip up the yard. Now we will have to wait for Quinn as well. We plan to be out most of Wednesday and all day Thursday. In our typical fashion, we don’t go home until all of our 110 accounts are done. The concrete will have to wait longer. Thank goodness Country True Value on Rt.4 still has shovels and shear pins in stock. Polly did a number on our snowblowers and we had to replace many shovels. Here comes Quinn! We’ve all done it, step on the gas instead of the brakes. Well this time, it happened and someone drove through the back of their garage! This happened years ago, and since then, the house was sold. The current owner wanted to get this repaired so that there isn’t any permanent damage to the garage in the future.
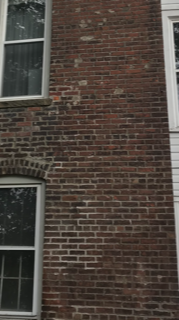
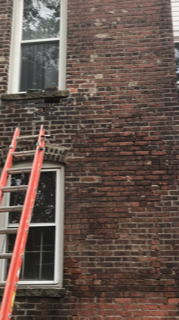
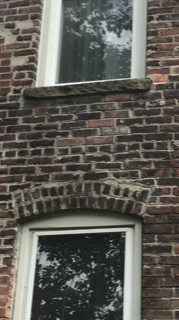
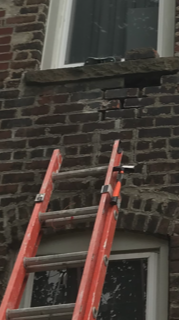
Since the garage was made of bricks, repairing it was just up our alley. Unfortunately, when a car strikes the side of the building (we’ve had this happen in the past!), the damage is low. When this happens with brick, we must replace and repair that area, as well as the brick above it. As you can see in the pictures, we had to tear out a large section of brick to repair the garage. This particular damage happened near a window so we also had to support the window before we tore down the wall. Fortunately, the roof rafters ran side to side and there wasn’t a heavy load on the back wall. The roof was supported by the sides of the garage so minimal framing support was necessary. When bricks are damaged, usually you are able to “tooth” the bricks in to the area that does not need to be replaced. These areas require a little bit of extra work to make sure we fill the tops of the bricks with mortar so the replaced bricks are sealed and completely supporting the existing bricks above it and the sides of it. Once supported and torn down, we started laying from the bottom. Within a few days we had the garage repaired. The final piece is to acid wash the bricks that were laid to clean them up from any extra mortar left on the brick throughout the repair process. The garage is now repaired and the client can rest assured that the structure is safe and fully secure. |
518.312.9104
[email protected]


 RSS Feed