|
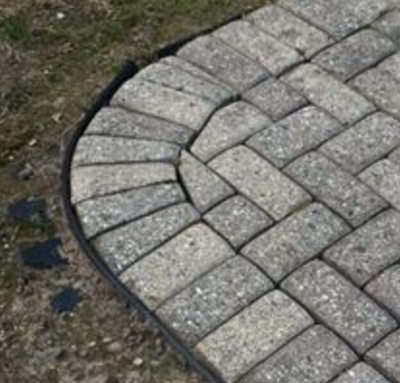
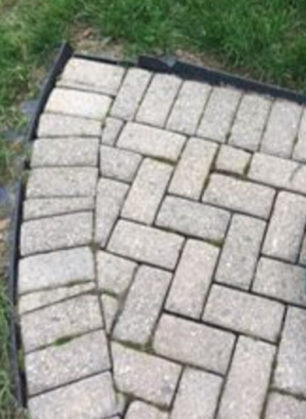
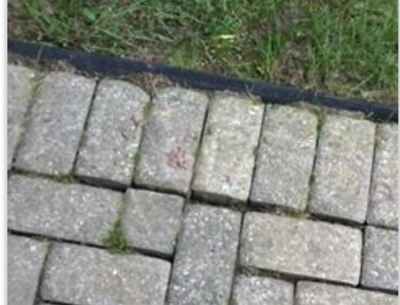
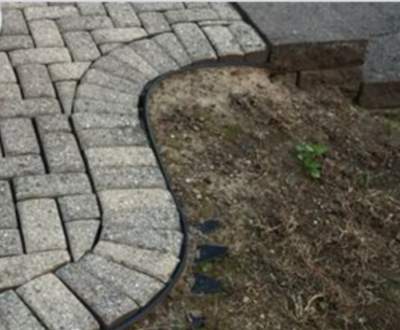
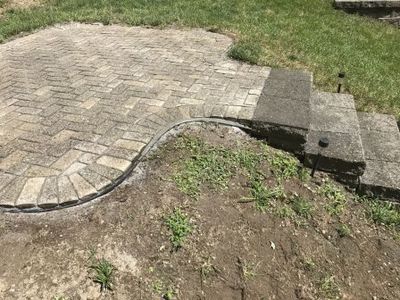
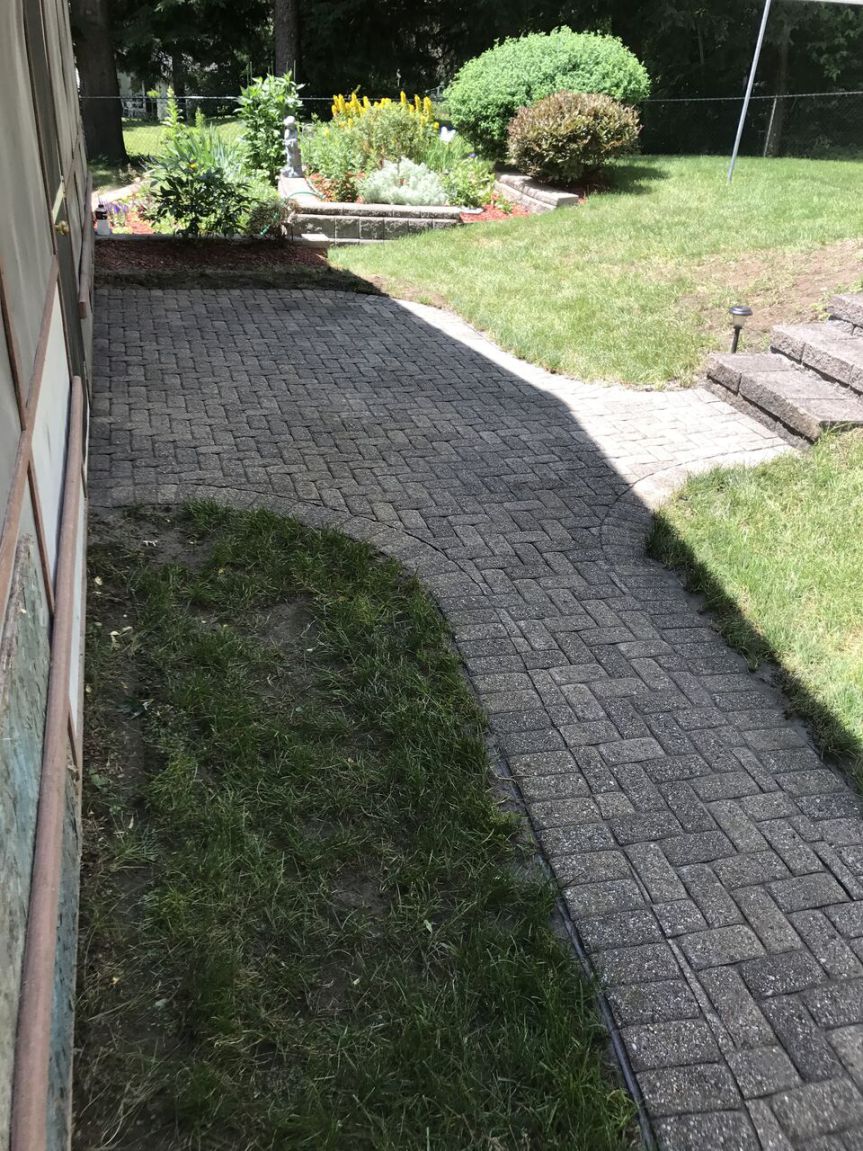
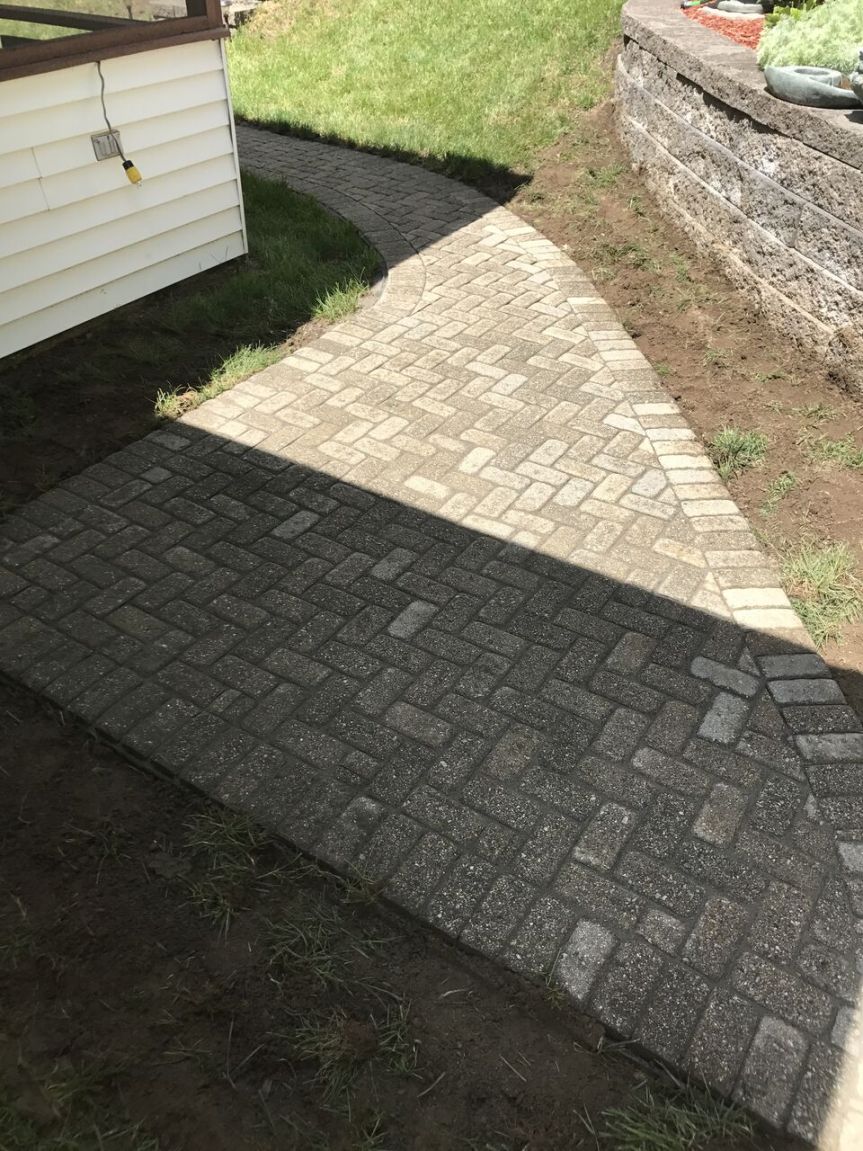
Paver walkways and patios are often large investments for your outdoor living space. They transform the look and feel of your yard and create a space that you, your friends and your family enjoy for the spring, summer and fall months. These projects do, however, require maintenance and repair over time. We have a customer whose patio had started to grow unsightly weeds in the joints every year. This customer approached us to install new polymeric sand in the joints and to fix the edge restraint as well as fix the trip hazard at the top of the stairs. Visible edge restraint and weeds growing through the cracks. Polymeric sand and edge restraint have evolved in the 15 to 20 years since this patio was installed. In the past, regular sand would be swept into the cracks, which would breed weeds and moss after a few years. The edge restraint would then be installed directly on the stone dust. Stone dust is no longer recommended by the ICPI (interlocking concrete pavement institute). Twenty years ago, stone dust was the final base material before pavers – we now use one inch of concrete sand. Furthermore, there are new recommendations on the installation of the edge restraint, putting the final grade one inch lower than the paver instead of right against it. This allows us installers to hide the edge restraint and create a more beautiful, seamless line around the pavers. On the left, the stair with the trip hazard. On the right, the patio is now leveled with the stair. For this customer’s project, we dug out below the current edge restraint and installed longer pins in the areas that the edge was creeping up. We also installed new polymeric sand, which made the patio look brand new. Finally, we raised the level of the patio on the upper level to meet the stairs. We did this by pouring concrete to prevent the loss of base materials under the stairs. The concrete will harden and prevent the trip hazard from forming again over time. This overall maintenance will allow your patio to live on for many parties and backyard grill outs for years to come.
4 Comments
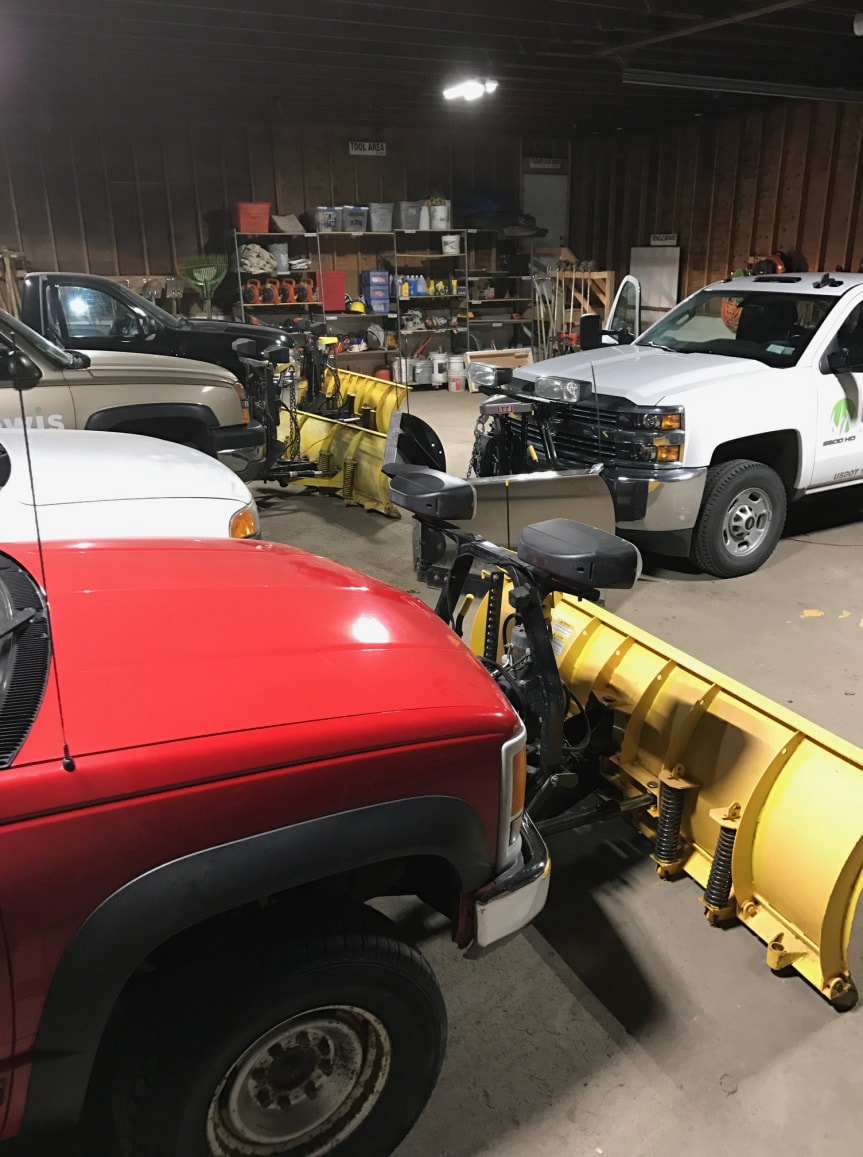
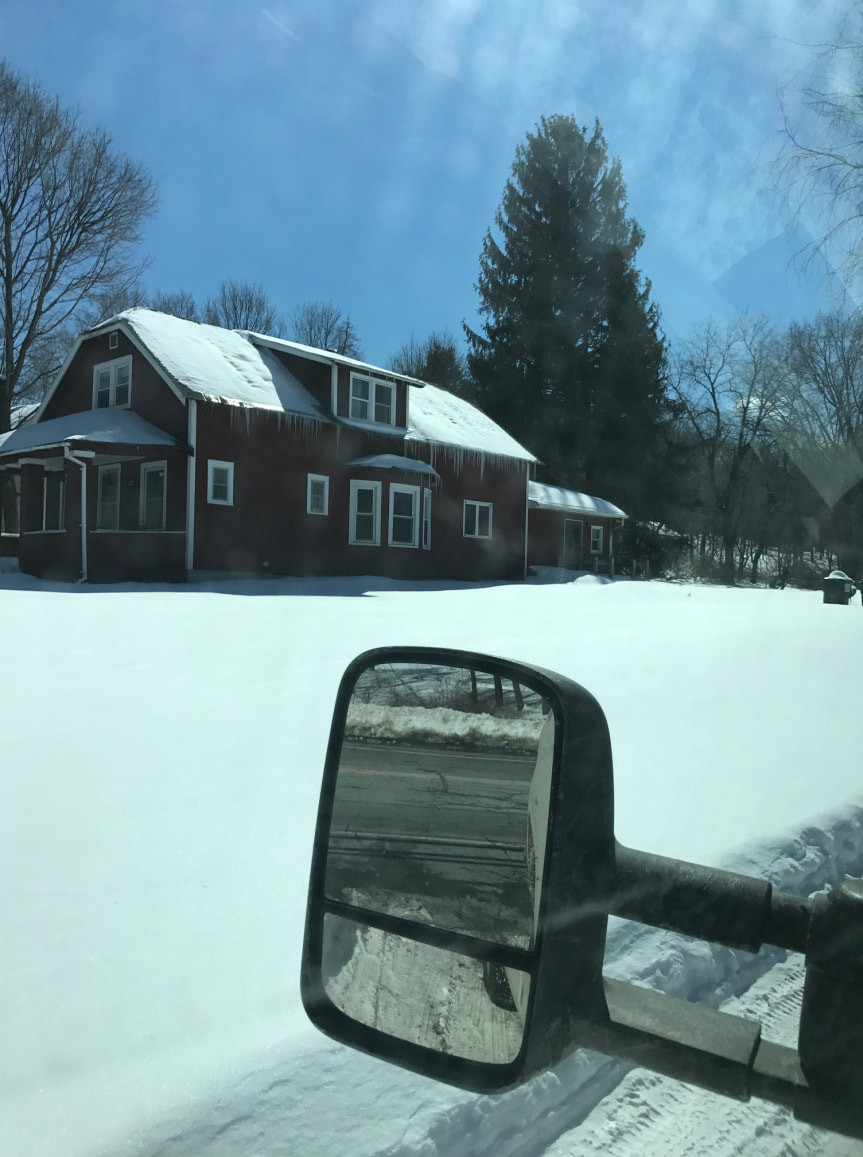
Painting brick is all over HGTV lately. They show beautifully white washed brick or accent brick walls painted to enhance their character. If this is done right, it can actually be a really great way to accent your home. Unfortunately, if done wrong, it can compromise your structure. There are different varieties of paint – latex, acrylic, oil-based, water-based, etc. Not every variety works for every application. In masonry, paints that lock in moisture eventually cause the masonry to retain water and break down. This causes the block, brick or mortar to become weak and your structure to become compromised. For this reason, we always recommend using masonry paint. These paints allow the masonry materials to breath and for moisture to be released (in gas form) from the masonry work. For the job pictured, the homeowner painted his chimney with a typical outdoor paint. This paint is one that you would use for wood siding to protect it from water getting in. This caused moisture to build up from the condensation inside the chimney when the furnace would vent. In order to fix this, we ground off the paint (a 2-day process) and let the chimney dry out. Then we parged the chimney to give it a textured finish. If the customer wanted to paint it with masonry paint at this point, it would be safe. Parging gives the masonry an extra “skin” and helps to prevent further damage. This is a classic case of beauty vs. function. Having a professional walk you through the work can avoid compromising your home. This customer reached out before he needed his entire chimney replaced. Luckily, we were able to fix the chimney and still create the beautiful aesthetic he was looking for. Being a part of the snow plow industry is a wild ride; it can be fun, stressful, exciting and dangerous all at once. Our most recent storm, Stella, came in with plenty of notice. The week prior, we had a forecast of 5-8 inches. Once we see a forecast of 2 or more inches, we begin to plan for the storm. Then we can fit the particulars (such as time, length of the storm, density of the snow) into our preseason prep work. Turned out for this storm, the people who expected to be able to handle the winter themselves, ended up needing help. In this post, I hope to detail why we do contracts and preseason work and how it affects our ability to fight the storm. To start I should detail what we do for preseason. Most of our contracts go out in September. We are able to stake out our properties so we know where asphalt meets lawn and areas to avoid. We then input the accounts into our software system and print out laminated route sheets for each truck. All of our accounts are put into routes and we assign a foreman/crew leader to manage the route. So before our shovels and plows hit a driveway, we have invested hours into the account. We also maintain and check our trucks regularly throughout the season, whether or not we see snow in the immediate forecast. Broken plow lights, broken shear pins and broken truck mirrors were some of the casualties of Stella. Stella was a storm that started during the day, roughly 6-8AM Tuesday morning. A lot of our contracts have AM triggers (meaning we clear at a certain time in the morning if a certain amount of snow has fallen). We have others that have triggers throughout the day. This contract language is meant to reduce phone calls and miscommunication during a storm. For context, we have over a hundred plow accounts. Some are residential and some commercial. So knowing that Stella was upgraded to a 18-24 inch storm, we had a couple trucks out plowing our seasonal customers from 8AM Tuesday on. Stella finished dumping on us at around 9-10PM on Tuesday. Normally this is a great time for a storm to finish – we are able to clear snow through the night and only have a few clients left to serve. However, since we got nearly two feet of snow, every account took 2-3x the amount of time. Our AM Tuesday guys were still out plowing and all of our trucks were out and plowing by 1AM Wednesday. We had most of our clients cleared by 8AM Wednesday when the largest influx of phone calls for new clients came. We had done really well at clearing our contracted customers driveways and parking lots, when we got slammed with phone calls. With a couple guys already passed 24 hours straight of plowing, there were plenty of people calling in for their driveway to be cleared. Most of the time this is welcome, but this storm was difficult to manage, not to mention the extra accounts. We ended up taking on another dozen or so clients. By the time it ended we had one person out for 34 hours straight, another at 27 and a couple more at 20+ hours, not to mention the handful of guys who did anywhere from 4-17 hours. Altogether, we may have put in 140 man-hours of clearing snow, just Tuesday and Wednesday. Thursday added another 40 on top of that. It’s always a tough stretch, but worth it. In the end, we were happy with our work on Stella. By Friday, we didn’t have any clients with any concerns. Some of our employees were happy with their overtime, others who couldn’t wait to get home and finally get to bed. All in all, we are just happy to get our clients back to their everyday work and keeping them safe. A few tips for someone looking for a plow driver either right before, or during, a storm:
Prepping at our shop before the big storm. Checking out a driveway for a new client, as you can tell sometimes it can be difficult to see the exact location and shape of the driveway, and if there’s anything under the snow we might hit.
This fall, we had the privilege of working on what was once the largest cotton mill in the world. The building was placed on the National Register of Historic Places in 1978 and is part of the Harmony Mills complex in Cohoes. We repaired the bricks on what used to be the power plant, constructed in 1911. There were multiple locations near the roof, windows and sides of the building that needed replacing. There were also places where bricks were falling off the building because the mortar was failing. We relaid those sections in order to prevent any further water damage and damage to the building itself. The owner plans to convert the space into a restaurant – we look forward to seeing how the inside transforms! We were recently hired to replace a front stoop in Cohoes. This particular stoop was in need of replacement because it was beyond repair. The top cracked, then the owner parged the top of it and accidentally pitched the landing towards the building, allowing water to get in. This caused the sill plate (which was made from regular wood, not pressure treated) to completely rot away, compromising the support of the entire structure. Needless to say, we had to replace the sill plate.
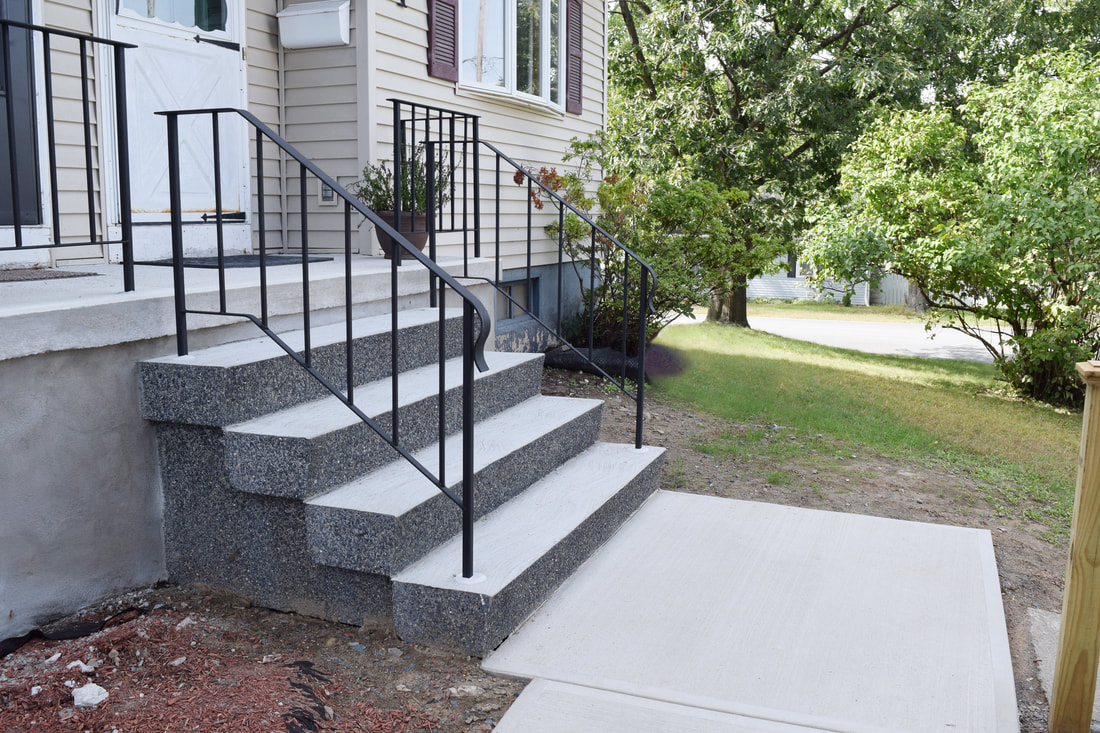
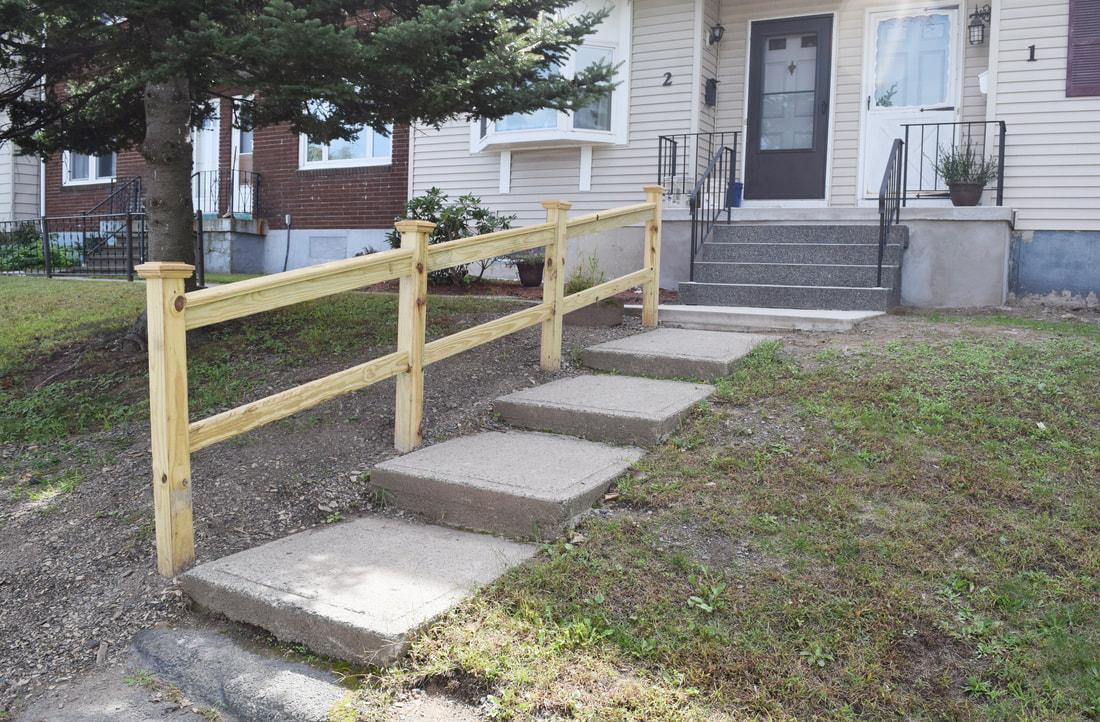
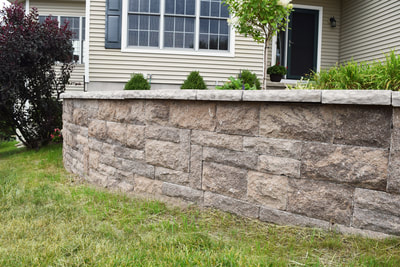
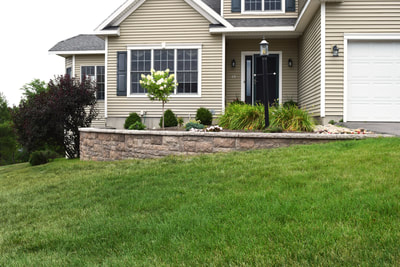
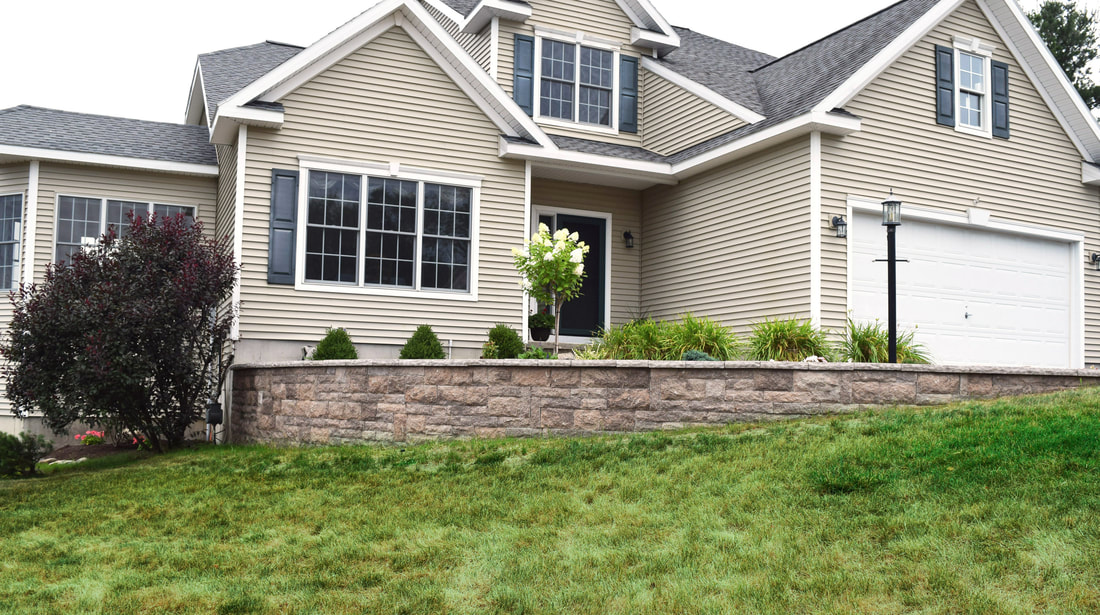
Rather than pouring new concrete steps, we sold the customer a set of precast stairs. These stairs have a better finish and are less expensive than a poured in place stoop. With the proper conditions, this is a great alternative to a stoop and will save customers thousands of dollars. to support the precast steps, we poured concrete into sono tubes, four feet into the ground. We then installed a concrete slab in front of the stairs for a landing as well as a concrete landing on top of the stairs. To finish the project, we installed new metal handrails on the top landing and stairs as well as a new pressure treated wooden handrail on the adjoining front side walk. The result was beautiful, and better yet, will last the customers for years to come. We recently finished this retaining wall at one of our customer’s homes in Troy. The customer chose a chestnut brown Baltimore wall by Techo-Bloc that highlights her home beautifully. Our customers can choose from a variety of colors, textures and patterns for their design and we work with each client individually to find what suits their needs best. We love how this one came out!
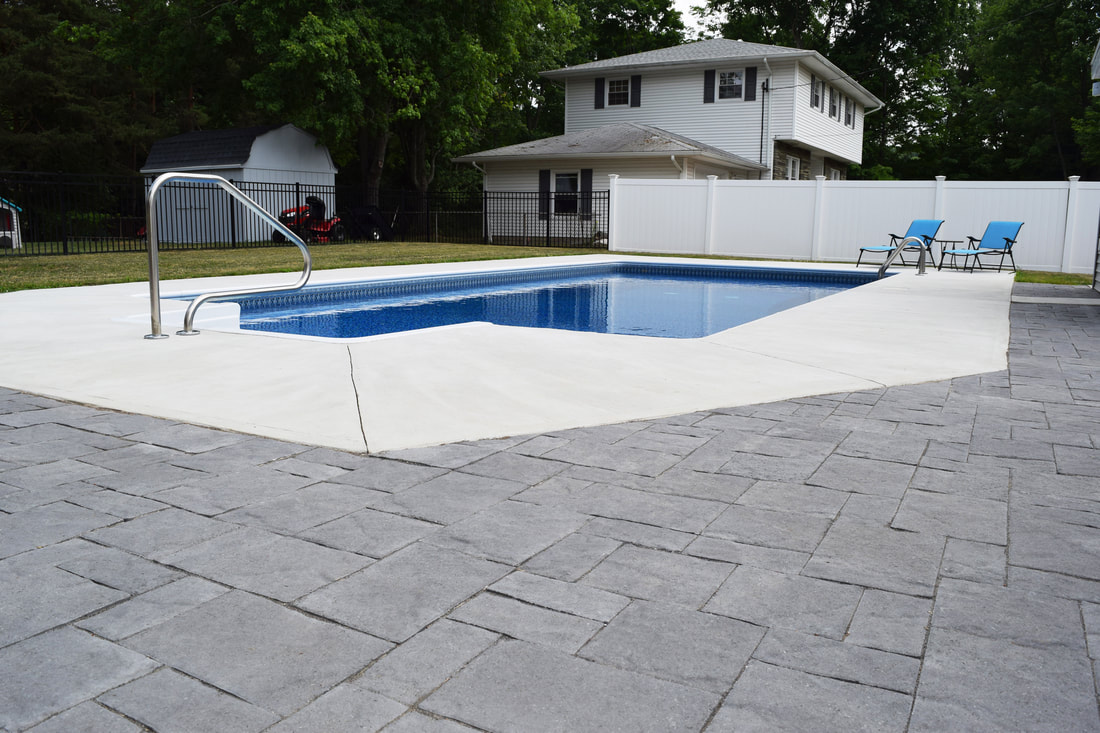
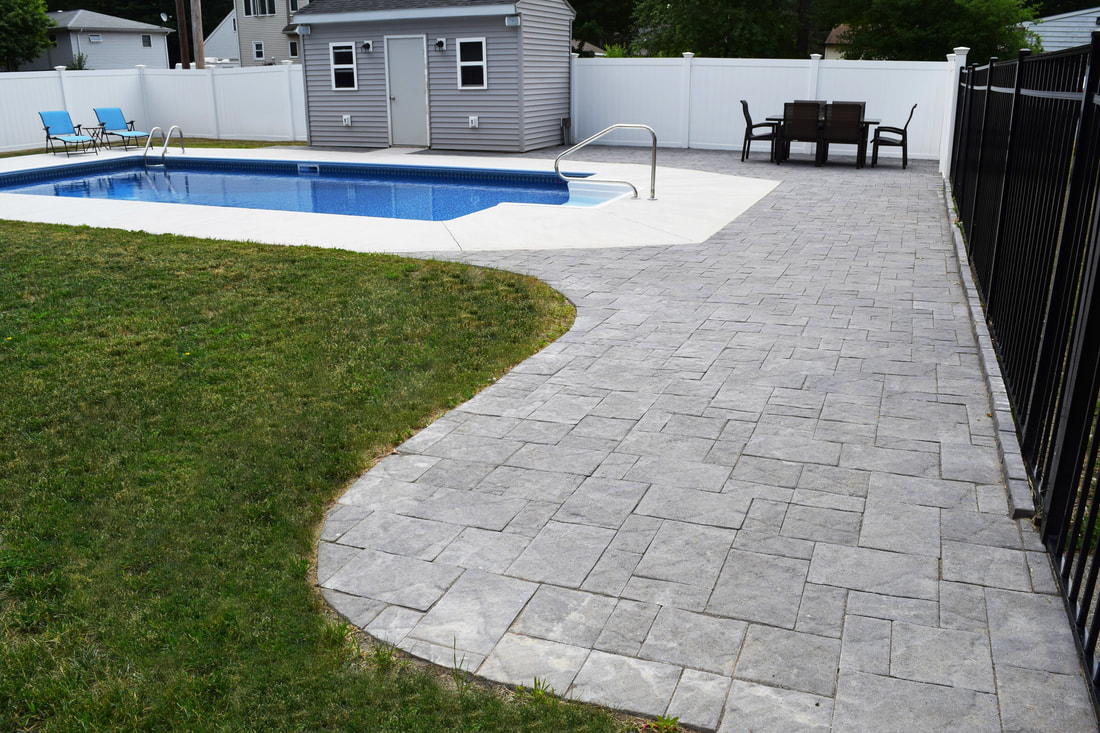
In early spring, we installed a patio around this customer’s pool and they recently opened up the pool for the season. They were kind enough to let us come back and grab some pictures – and we’re glad we did because look at how beautiful it looks! We hope they spend the summer lounging on a patio chair and soaking up some rays.
As landscapers, we install mulch regularly. Most of our landscaping clients want new mulch every spring to freshen up their flower beds and enjoy a beautiful yard all summer long. However, there are more benefits to mulching your gardens than just aesthetics.
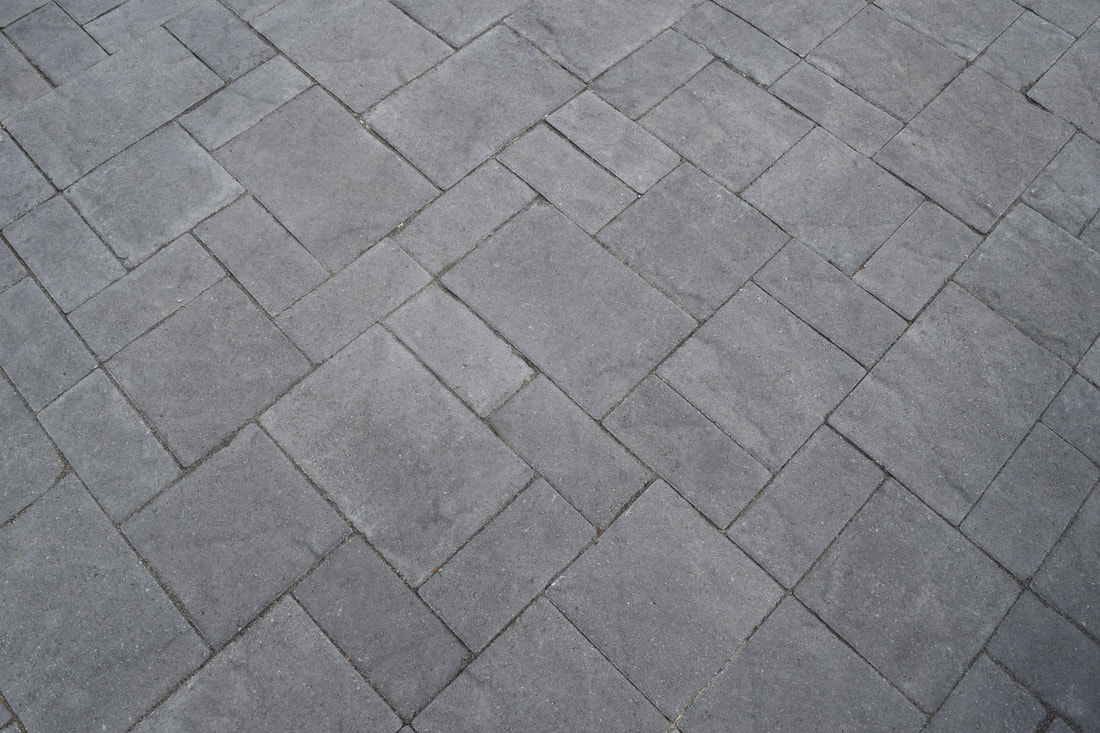
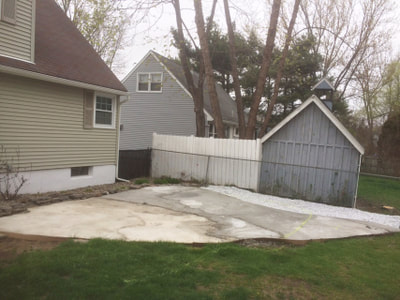
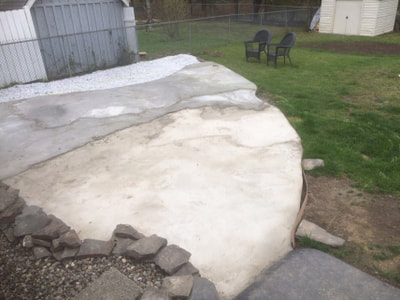
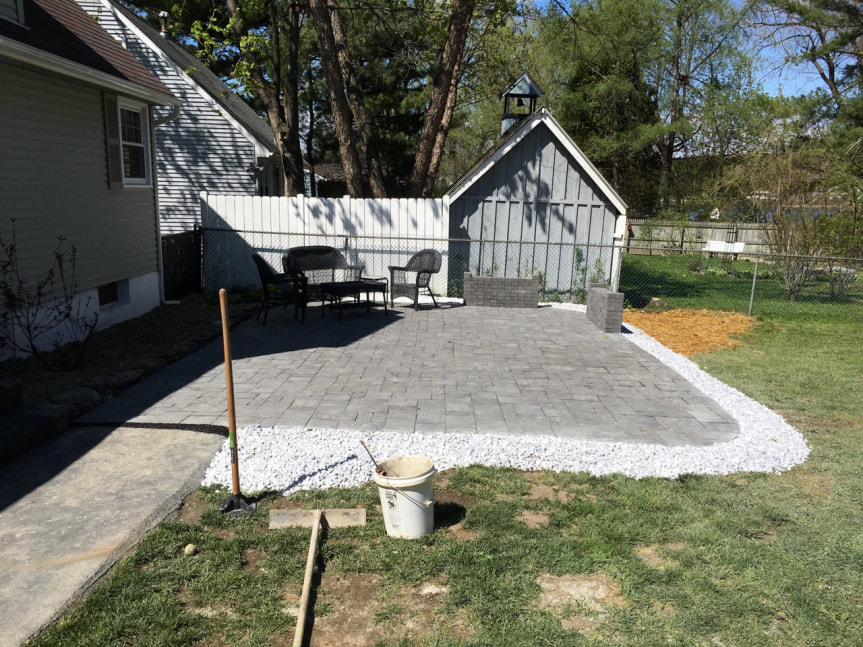
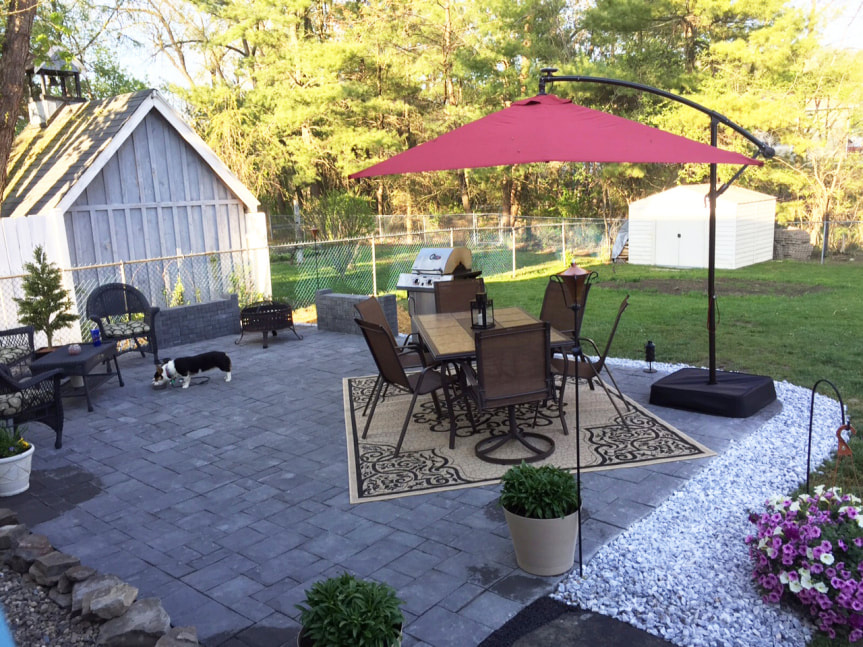
We are often asked which color mulch is best. While this is a preference, there are other factors in selecting a color. The three basic mulch colors are red, black and premium brown. Red and black are dyed mulches; they are essentially pallet boards sent through a grinder and blasted with dye. After about a year, the dye washes off and the mulch fades considerably. Also, the dyed mulches tend to take longer to break down and amend the soil because they are such large pieces. Oftentimes we find ourselves removing these mulches after a couple years because they don’t break down. For these reasons, we recommend premium brown mulch. This is a natural product and has not been dyed so it breaks down quicker and amends the soil. You do need to lightly apply more mulch since it breaks down; however, you will have more nutrient rich soil as a result. Premium brown mulch also remains consistent throughout the year and will not fade. Clients also ask us often about weed paper. We do not recommend installing weed paper since the initial benefits do not outweigh the initial costs, future costs and trouble. Typically, if you install weed paper, you will enjoy a weed-free garden that first year. Then spring comes and you find exposed weed paper due to frost heaving. Since this doesn’t look appealing, you rip out the exposed portions. Dust in the air will also eventually settle on your mulch, allowing for weeds to germinate on top and grow through the weed paper. So, you will be weeding anyway. Additionally, weed paper prevents moisture from permeating through to your plants, preventing the nutrients from mulch breaking down and amending your soil. It might seem great to have no/low maintenance option but in the end, it will cost you later. We recently completed a beautiful backyard paver patio at a customer’s house. These clients unfortunately hired a bad contractor this spring and ended up with a misshapen and awkward concrete patio. Not only that, but the concrete was poured at different times, resulting in an uneven and discolored appearance. The customers hired us to fix the problem. Rather than jackhammering the entire patio and redoing it, we decided to lay patio pavers on top. This solution was cheaper than starting from scratch, and it was an upgrade to the actual patio. To start, we needed to jackhammer out a section and install another in order to round out the corners. Once the concrete was ready, we glued the edge pavers, laid the rest on a bed of sand to even out the base and swept in the polymeric sand. The clients chose a gray patio paver and used marble stones around the edges. The result was beautiful and the clients have been enjoying their backyard ever since!
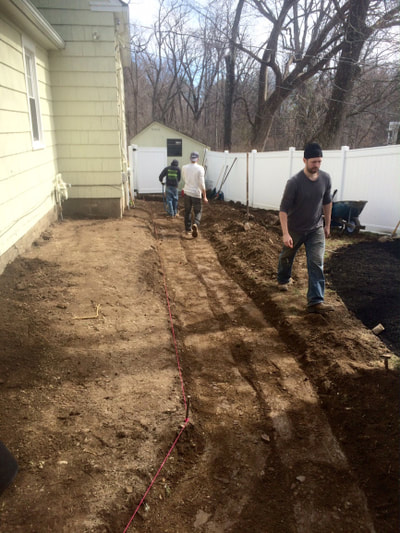
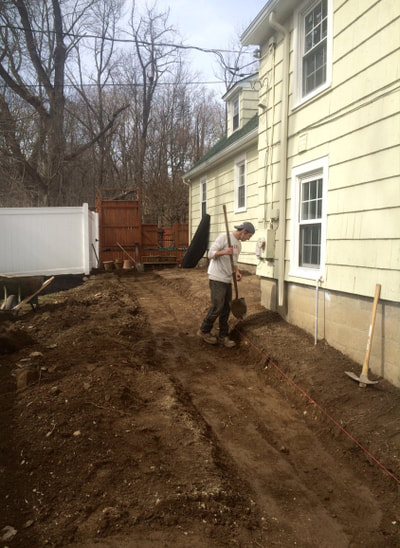
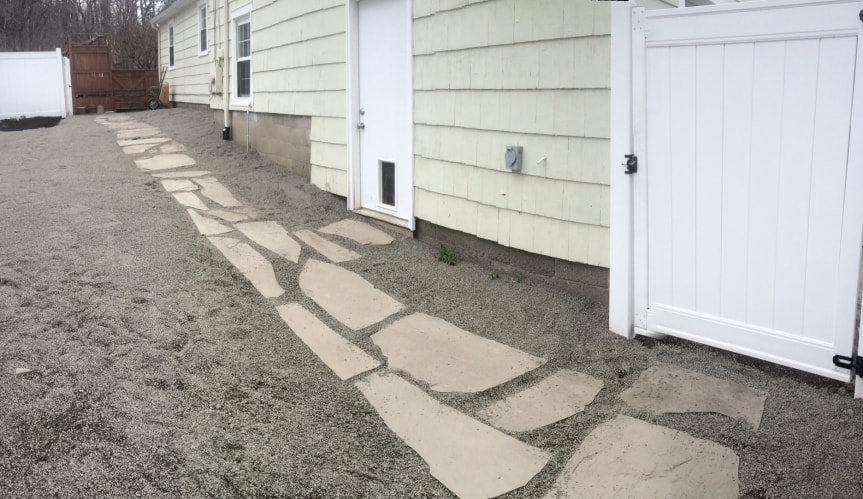
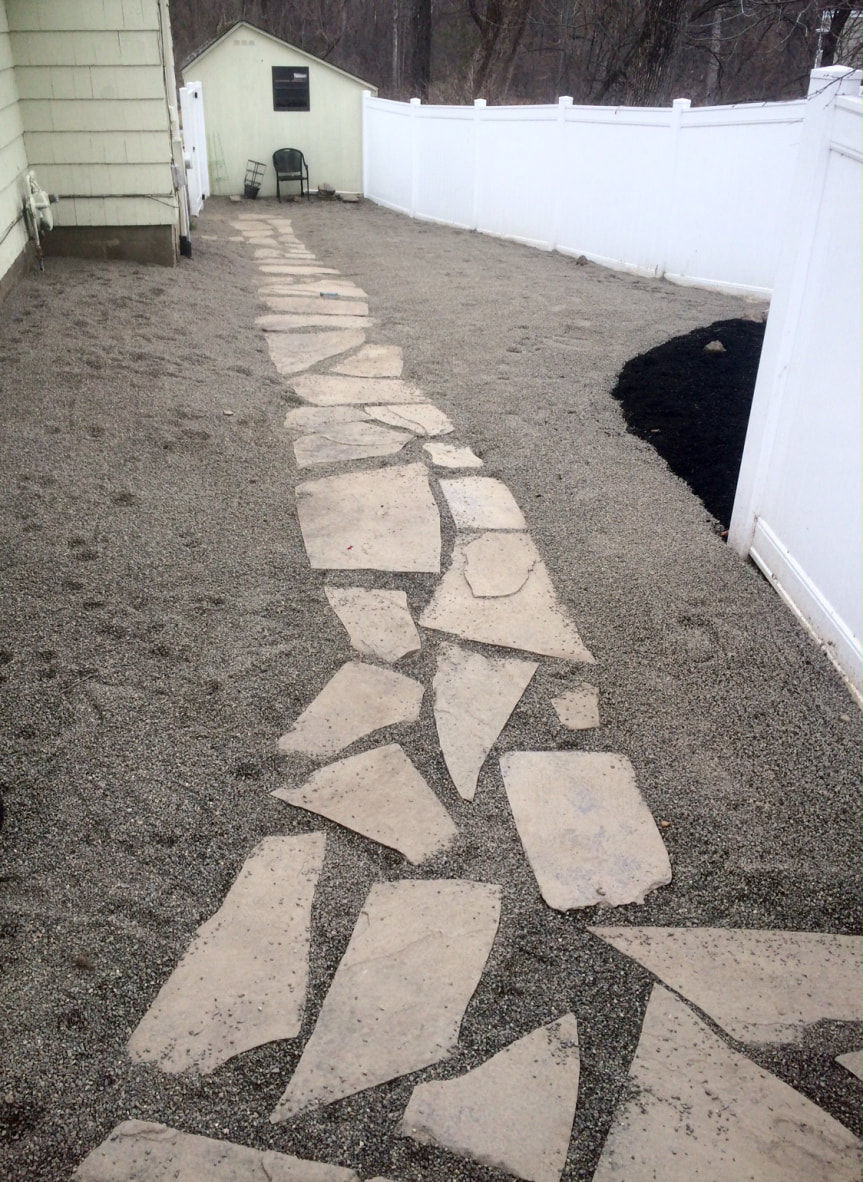
We started our first landscaping project a few weeks ago and ever since, have been in full-fledged spring mode. This is a surprise to even us, since we generally don’t start these types of projects until April. We welcome the spring weather since that means we can get back to work outside. We couldn’t be happier – this is why we are in this line of work. Last week we began a project creating a walkway for a customer using flagstones. We love this style since the stones are natural and each is unique. This particular customer already had the majority of the stones we would need prior to the project and we started almost immediately. We dug out 8 inches of soil from the pathway and laid down geosynthetic fabric to stabilize the soil. Then we installed 5 inches of crusher run as a base. These methods prevent the walkway from settling and shifting over the years with freezing and thawing. We finally added an inch of concrete sand as a leveler. Then we began laying the stones. This part takes a little extra effort and artistic vision since each stone should fit seamlessly in the design. With a paver application, we typically use polymeric sand in the joints; but since these joints were so large, we installed pea stones throughout the yard. We loved the finished product!
|
518.312.9104
[email protected]



 RSS Feed